Uncompromised dynamics
Everything starts at the kit. The triggers translate the exact push, pull, and natural velocity of your tracking take seamlessly.
I originally built this hybrid kit setup out of necessity to keep the acoustic volume manageable. What started as a practical workaround ended up producing a drum sound that competes directly with a traditional live room.
Everything starts at the kit. The triggers translate the exact push, pull, and natural velocity of your tracking take seamlessly.
Recorded live through proper analog paths. Any minor stick clicks from the mesh pads clean up easily with a quick EQ notch or SplitEQ.
Because the shells are captured as MIDI, you can swap samples, shift a kick, or rewrite a tom fill late in the mix without affecting the live cymbal audio.
You get organized, consolidated files starting right at Bar 1 that drop perfectly into your DAW.
The approach is straightforward. The cymbals are tracked live in the room through classic microphones and analog preamps, while the kick, snare, and toms are captured as high-resolution MIDI from the exact same take.
That MIDI drives libraries like Addictive Drums 2 or Steven Slate Drums 5.5. You get a completely uncompromised performance with real cymbal audio, plus total flexibility over the shell sounds when it is time to mix.
The cymbal recordings stay locked in while the shell sounds change underneath. Same pocket, completely different kit character.
This is the exact same take played through different shell libraries. The cymbal audio is completely raw, so you may hear a trace of the mesh pad stick clicks in isolation, but notice how the kick, snare, and tom tones shift the vibe.
Hear the drum bus isolated, and then pushed back into a dense mix.
A comparison of a live performance straight from the kit against the exact same beat drawn onto a MIDI grid by hand.
The performed version moves around the grid and varies in velocity, which changes the feel and forward motion of the part.
A controlled acoustic space treated for focused cymbal capture.
The room is treated so the cymbals sound focused, controlled, and dry.
I want a tight cymbal recording that doesn't force a heavy room sound onto your track. The treatment includes custom Acoustimac DMD panels, four-inch wall panels near the kit, two-inch ceiling clouds, and corner bass traps.
That keeps the cymbal image clear. The mics will capture some subtle acoustic stick clicks from the mesh heads, but it is minor bleed that cleans up easily with EQ, SplitEQ, or iZotope RX before hitting the mix.
The acoustics support a clean cymbal capture without stamping a heavy sonic signature onto every take.
It keeps the mixing decisions in your hands.The mics handle the audio. The mesh heads and triggers handle the MIDI. Here is the front end.
I keep two overhead configurations ready to go, plus dedicated close mics on the hi-hat and ride. We choose the active setup based on the song, whether it needs a wide, open wash or a tight, focused image.
I went with the WA-84s because they mirror the Neumann KM 84s, capturing a smooth top end without sounding harsh or brittle. I keep four of them set up for two different overhead options: a spaced pair for width, or an XY pair for a tight, mono-compatible image.
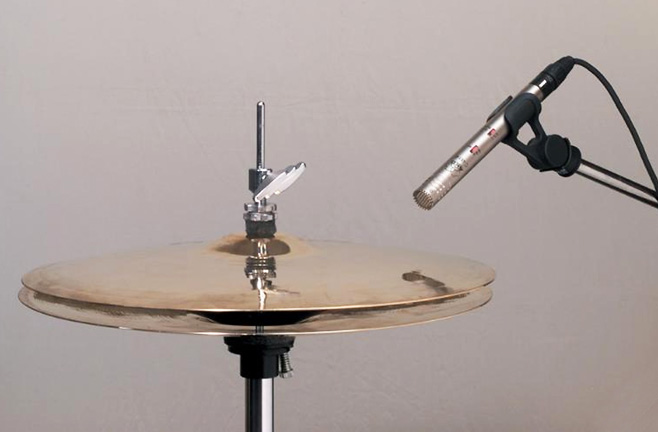
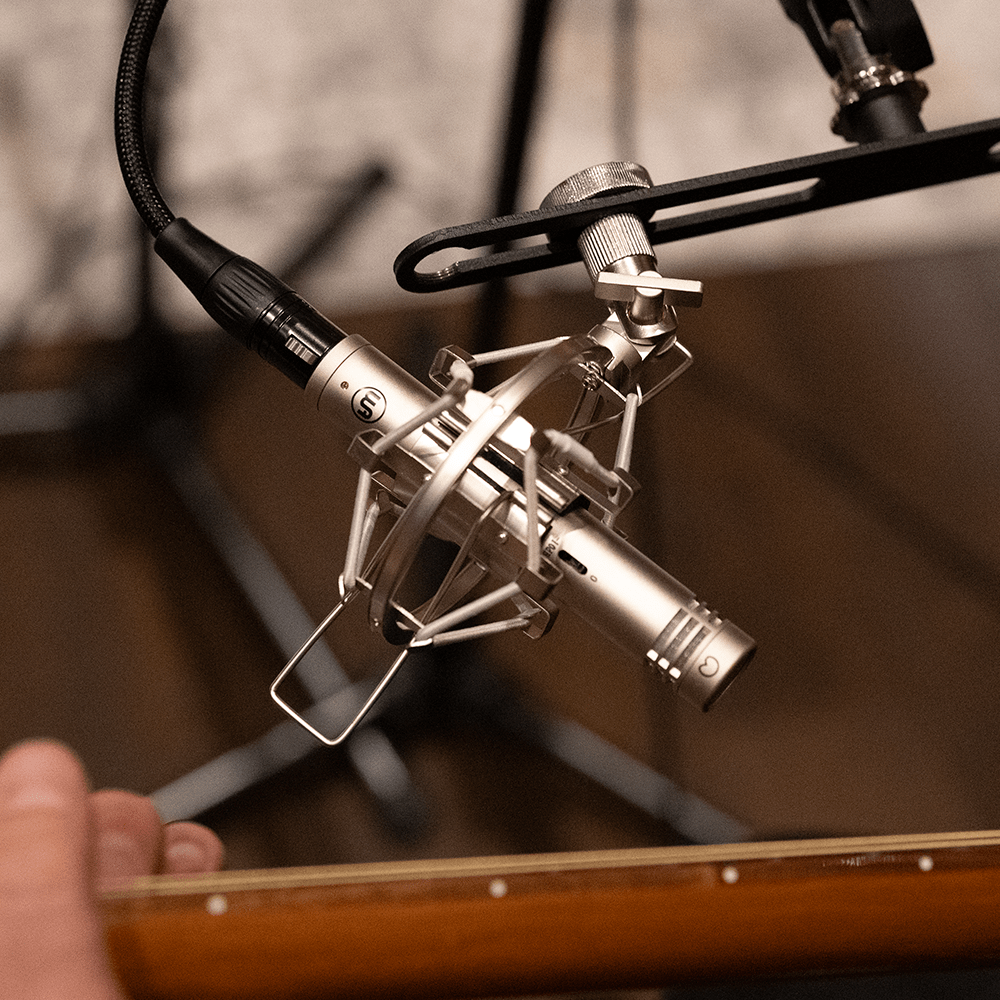
Classic cardioid small-diaphragm condensers on the hi-hat and ride. They have a fast transient response that captures the stick definition and bell articulation clearly.
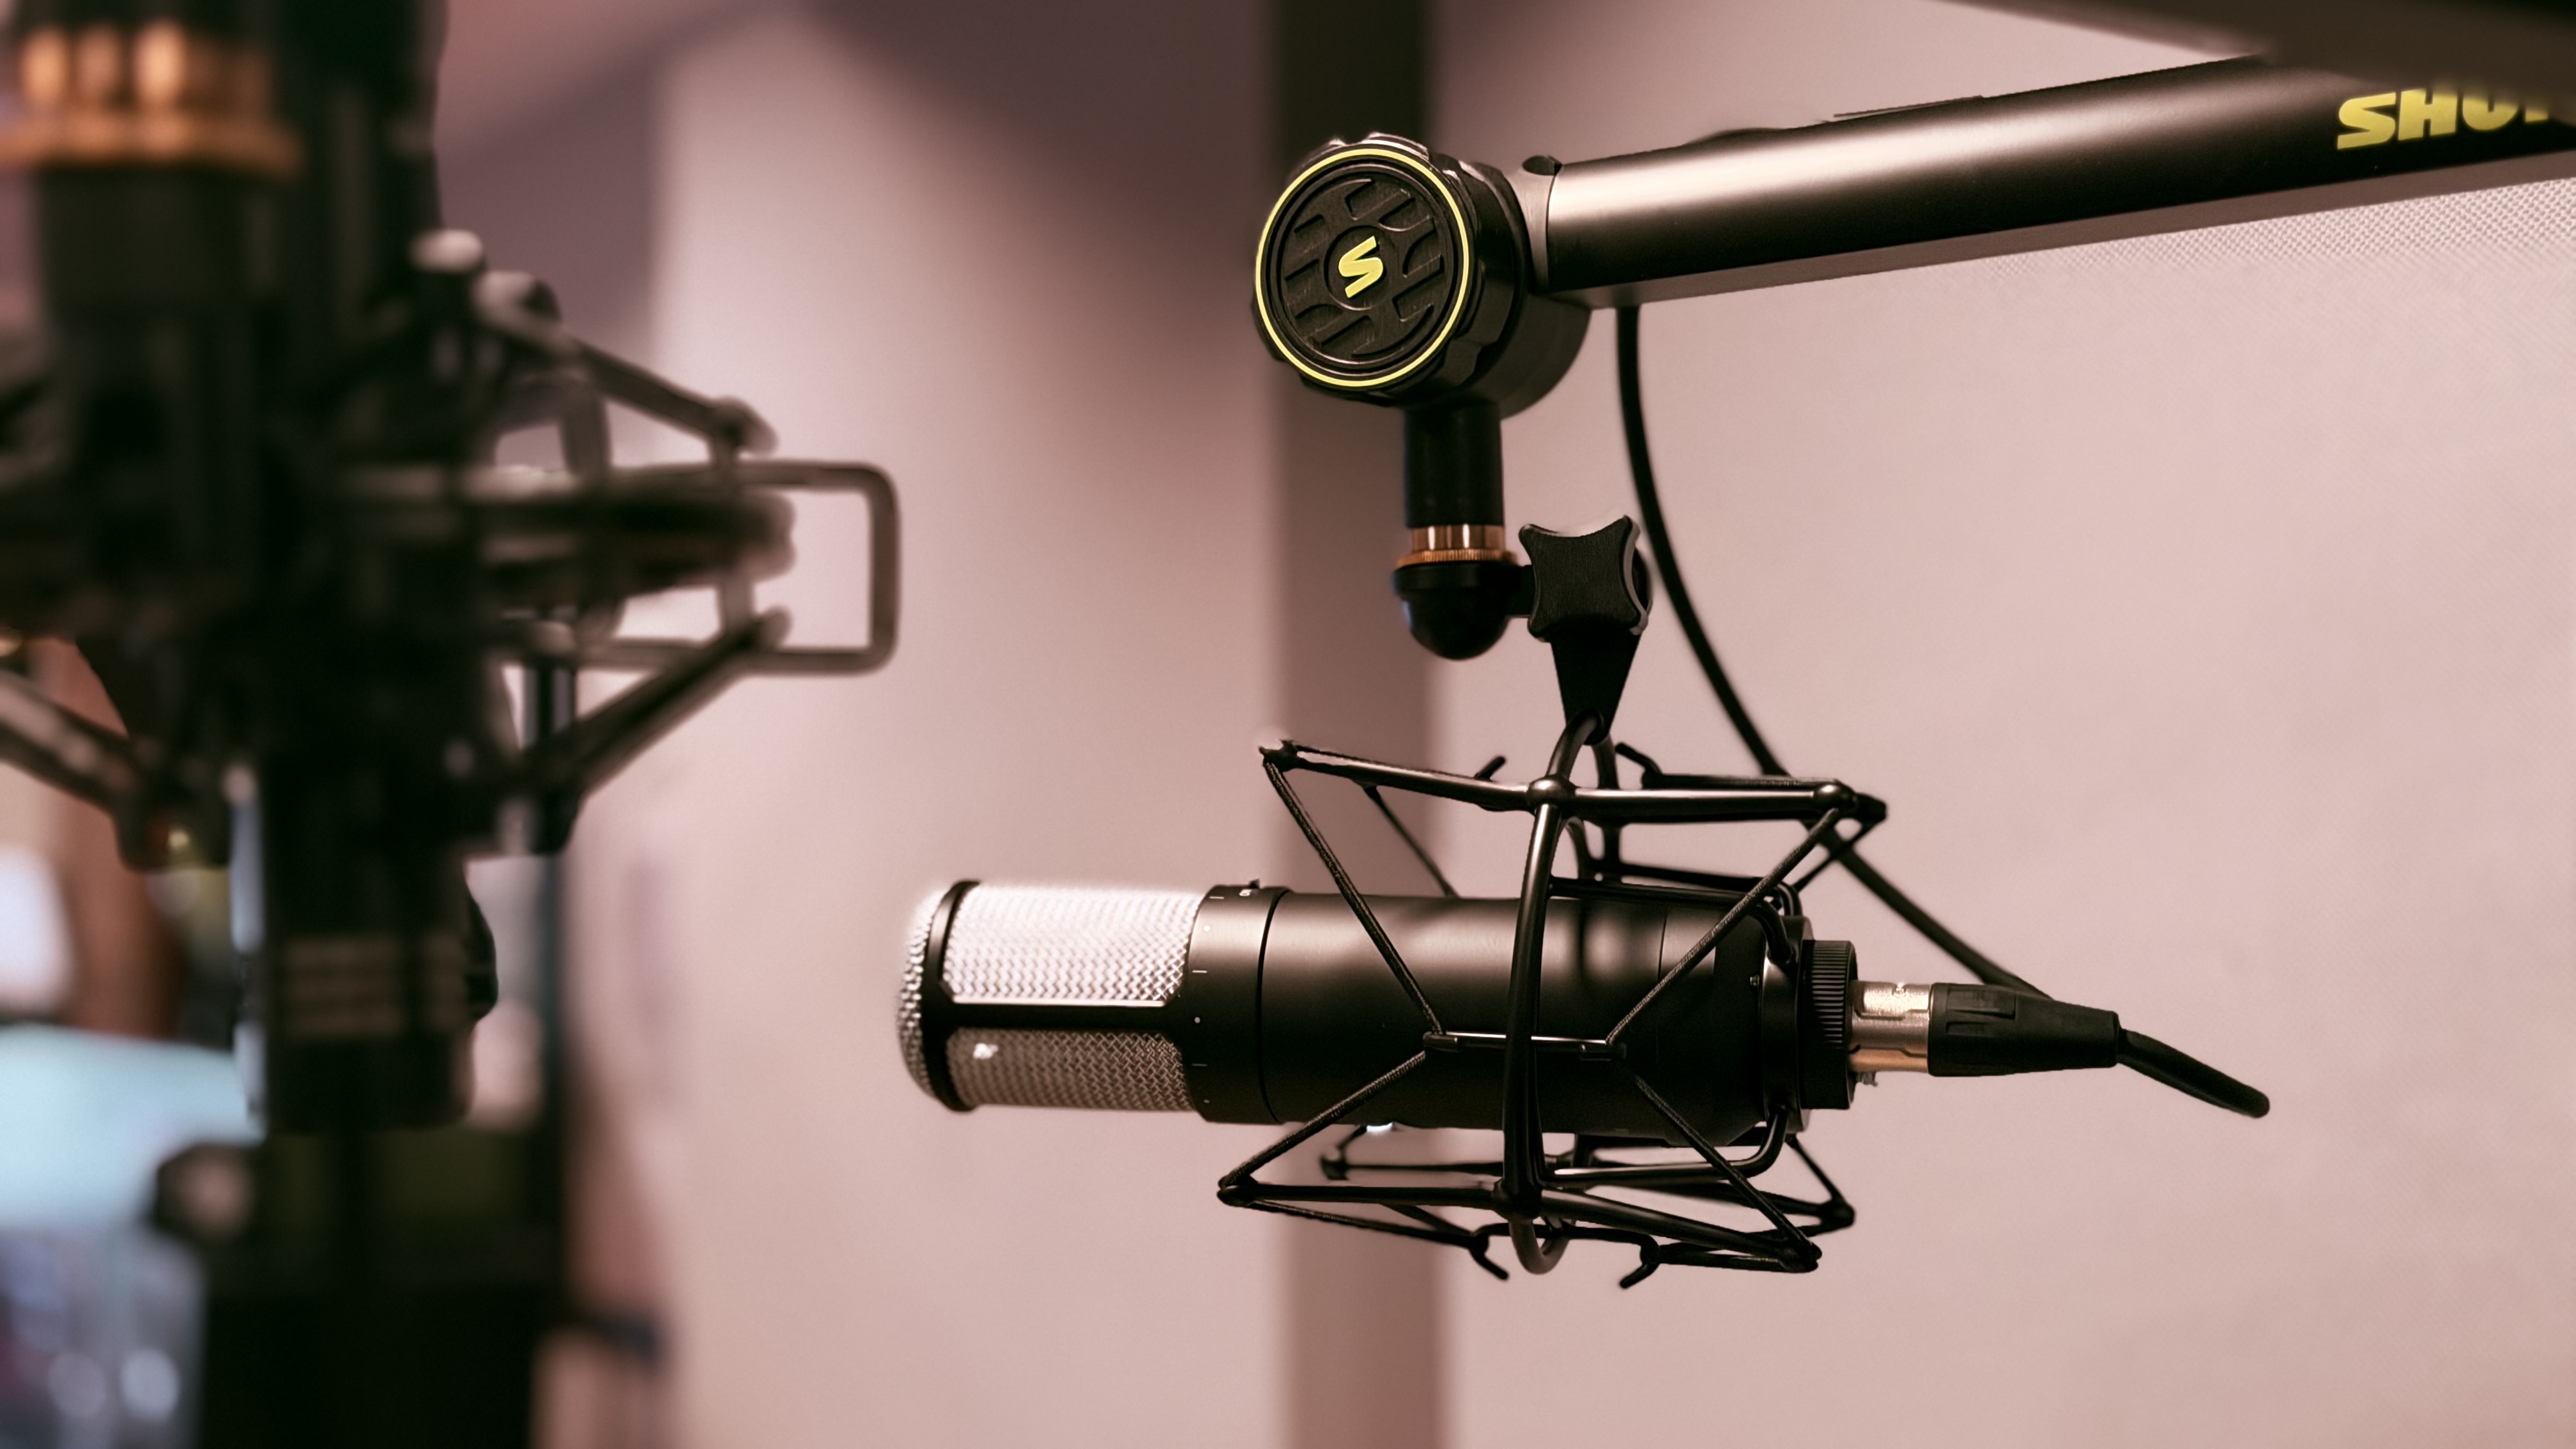
My dedicated room microphone. It routes dual outputs to the Apollo Twin, letting us model vintage microphones after the fact.
The mics run through a front end of API and Universal Audio gear. We pick the path based on how much punch, color, or detail the song needs.

A four-channel discrete Class A preamp built around the classic 2520 op-amp. API preamps are known for a fast, punchy midrange and quick transient response, which is why this is my first choice for the XY overheads, hi-hat, and ride. Because I have the 'V' version with variable output controls, I can drive the input gain to get some analog saturation on the cymbals, and then dial back the output so it hits the Apollo converters at the right level.

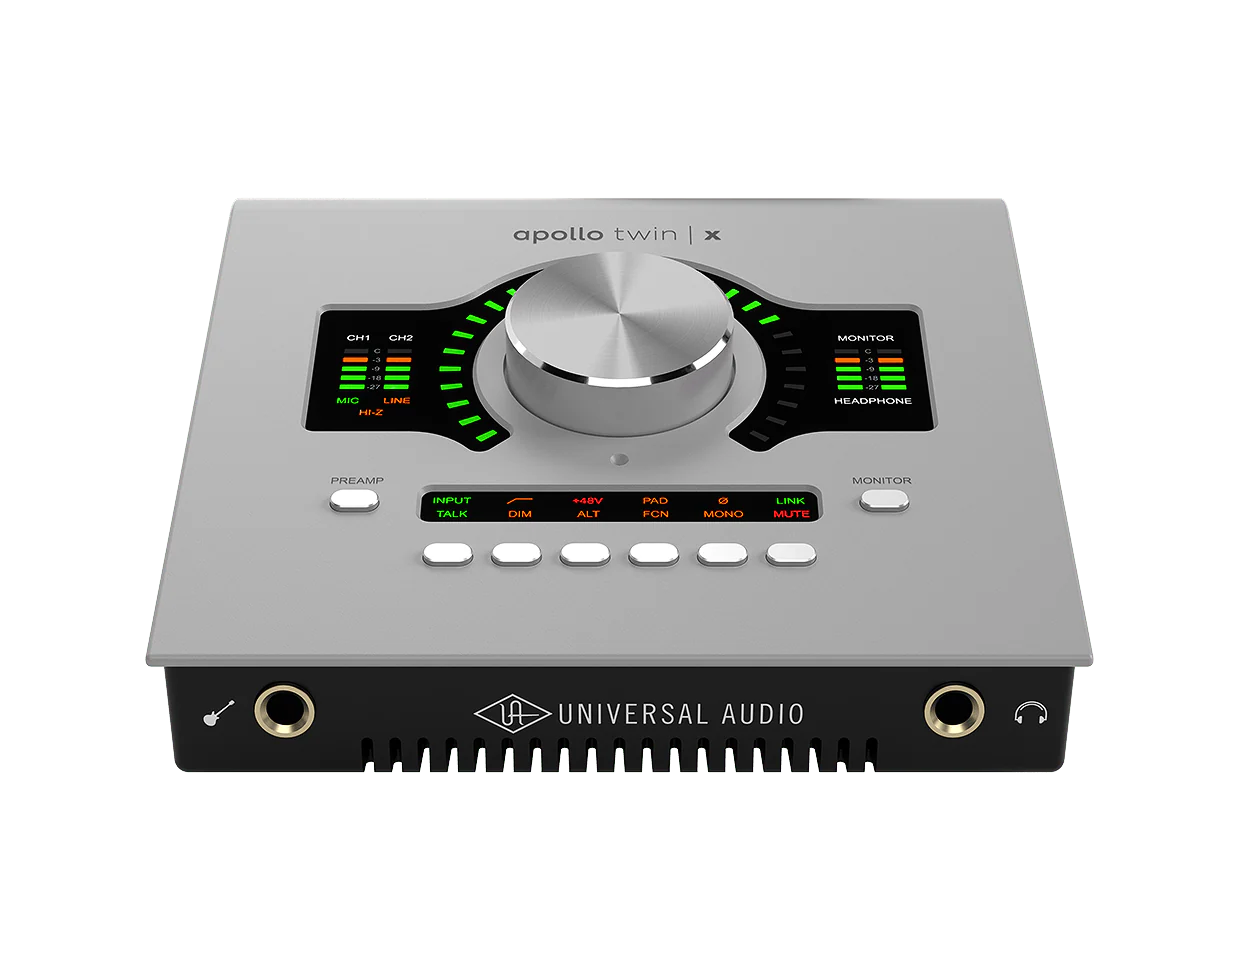
The main brain of the rig. It handles conversion and drives the AB overheads using the Neve 1073 Unison model. Unison isn't just a standard EQ plugin—it actually communicates with the hardware to physically change the Apollo's input impedance and gain staging sweet spots to match the circuitry of a real vintage 1073. It gives the overheads that Neve color before they hit the digital converters.
Dedicated entirely to the Sphere LX room mic. It uses both Unison preamps to handle the dual-capsule signal, which unlocks the Sphere modeling software. This gives us control over the room sound after the performance is already tracked. Depending on what the mix needs, we can swap the mic model from a dark ribbon to a bright condenser, or adjust the polar pattern, without having to commit to a specific room sound during the session.
A Zildjian cymbal inventory mapped out to help us find the right sound for the track.
Every cymbal in the studio is mapped out by tone and decay. Brighter metals sit to the right, darker to the left. Faster, drier cymbals are lower, and the big, washy ones are higher up.
Filter by type and click around to explore the inventory.